
When it comes to elevating your home’s interior, selecting the right materials makes all the difference. If you’re looking for a sophisticated yet warm aesthetic, Shinnoki Frozen Walnut is an excellent choice. This prefinished wood veneer combines modern elegance with natural texture, making it a favorite for everything from cabinetry to accent walls.
Inspired by Chip Gaines’ love for blending rustic charm with modern design, this step-by-step guide will help you incorporate Shinnoki Frozen Walnut into your home, creating a polished yet inviting space.
Step 1: Choosing the Right Space for Shinnoki Frozen Walnut
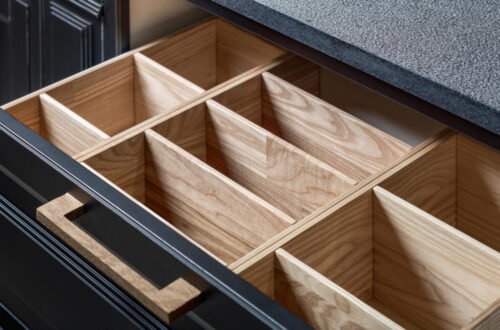
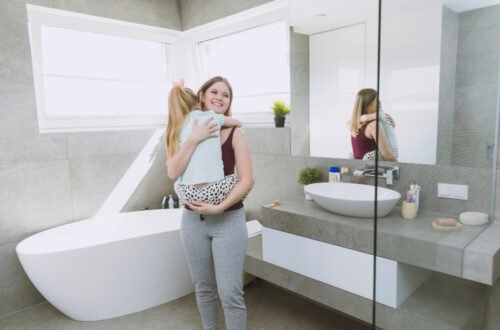
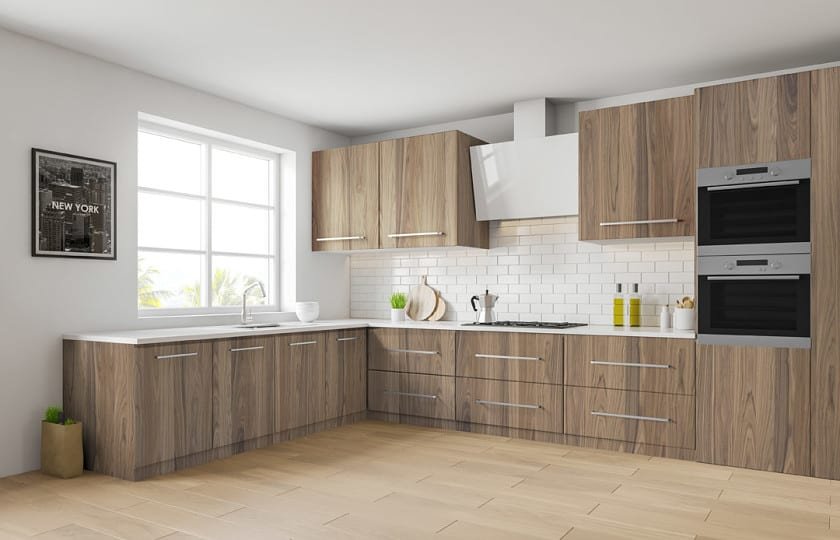
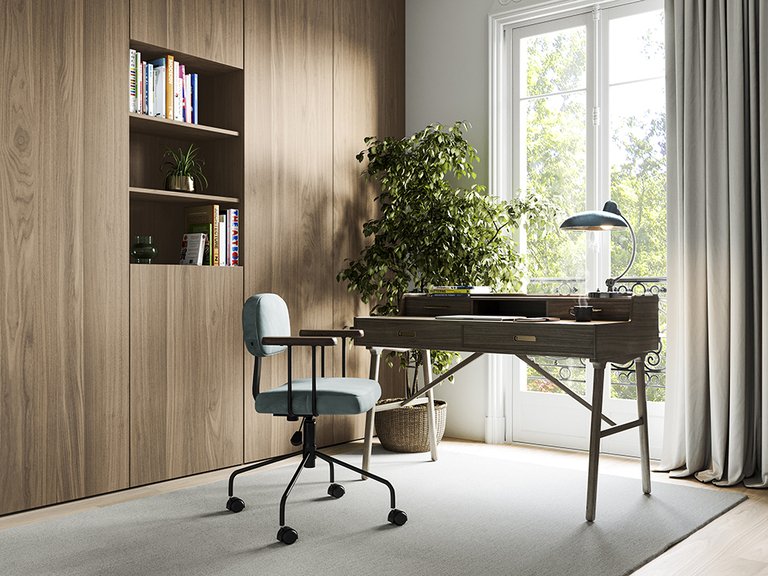
Before diving into your project, decide where Shinnoki Frozen Walnut will make the biggest impact. Here are some great applications: ✔ Kitchen Cabinetry – Elevate your kitchen with sleek, rich wood cabinets. ✔ Accent Walls – A feature wall in a living room or office creates warmth and texture. ✔ Built-In Shelving & Storage – Perfect for custom closets, bookshelves, and TV units. ✔ Bathroom Vanities – Adds a touch of luxury to your bath space. ✔ Furniture Pieces – Coffee tables, headboards, and desks look stunning in walnut.
💡 Pro Tip: Consider using Frozen Walnut in combination with matte black or brushed gold hardware for a truly modern touch.
Step 2: Planning & Measuring for Installation
Proper planning ensures a seamless installation. Here’s what you’ll need to do: ✔ Measure the space where the panels will be installed. ✔ Order the right amount of material—always get 10% extra for cuts and adjustments. ✔ Choose complementary finishes—Frozen Walnut pairs beautifully with neutral tones, marble, and matte black fixtures. ✔ Decide on a panel orientation—Vertical installation elongates a space, while horizontal panels create a contemporary look.
💡 Pro Tip: If using Shinnoki for cabinetry, consider soft-close hinges and push-to-open mechanisms for a sleek, handle-free look.
Step 3: Preparing Your Surface & Tools
To ensure the best results, gather these essential tools and materials: ✔ Measuring tape & level – Ensures straight, even alignment. ✔ Circular saw or table saw – For precise cuts. ✔ Wood glue & brad nails – For securing panels. ✔ Sanding block – For finishing edges. ✔ Adhesive or mounting hardware – Depending on whether it’s a wall panel, cabinet front, or furniture piece.
💡 Pro Tip: When cutting Shinnoki Frozen Walnut, always use a fine-tooth blade to prevent chipping.
Step 4: Installing Shinnoki Frozen Walnut Panels
Now comes the fun part—installation! Follow these steps for a flawless finish:
For Cabinets & Furniture:
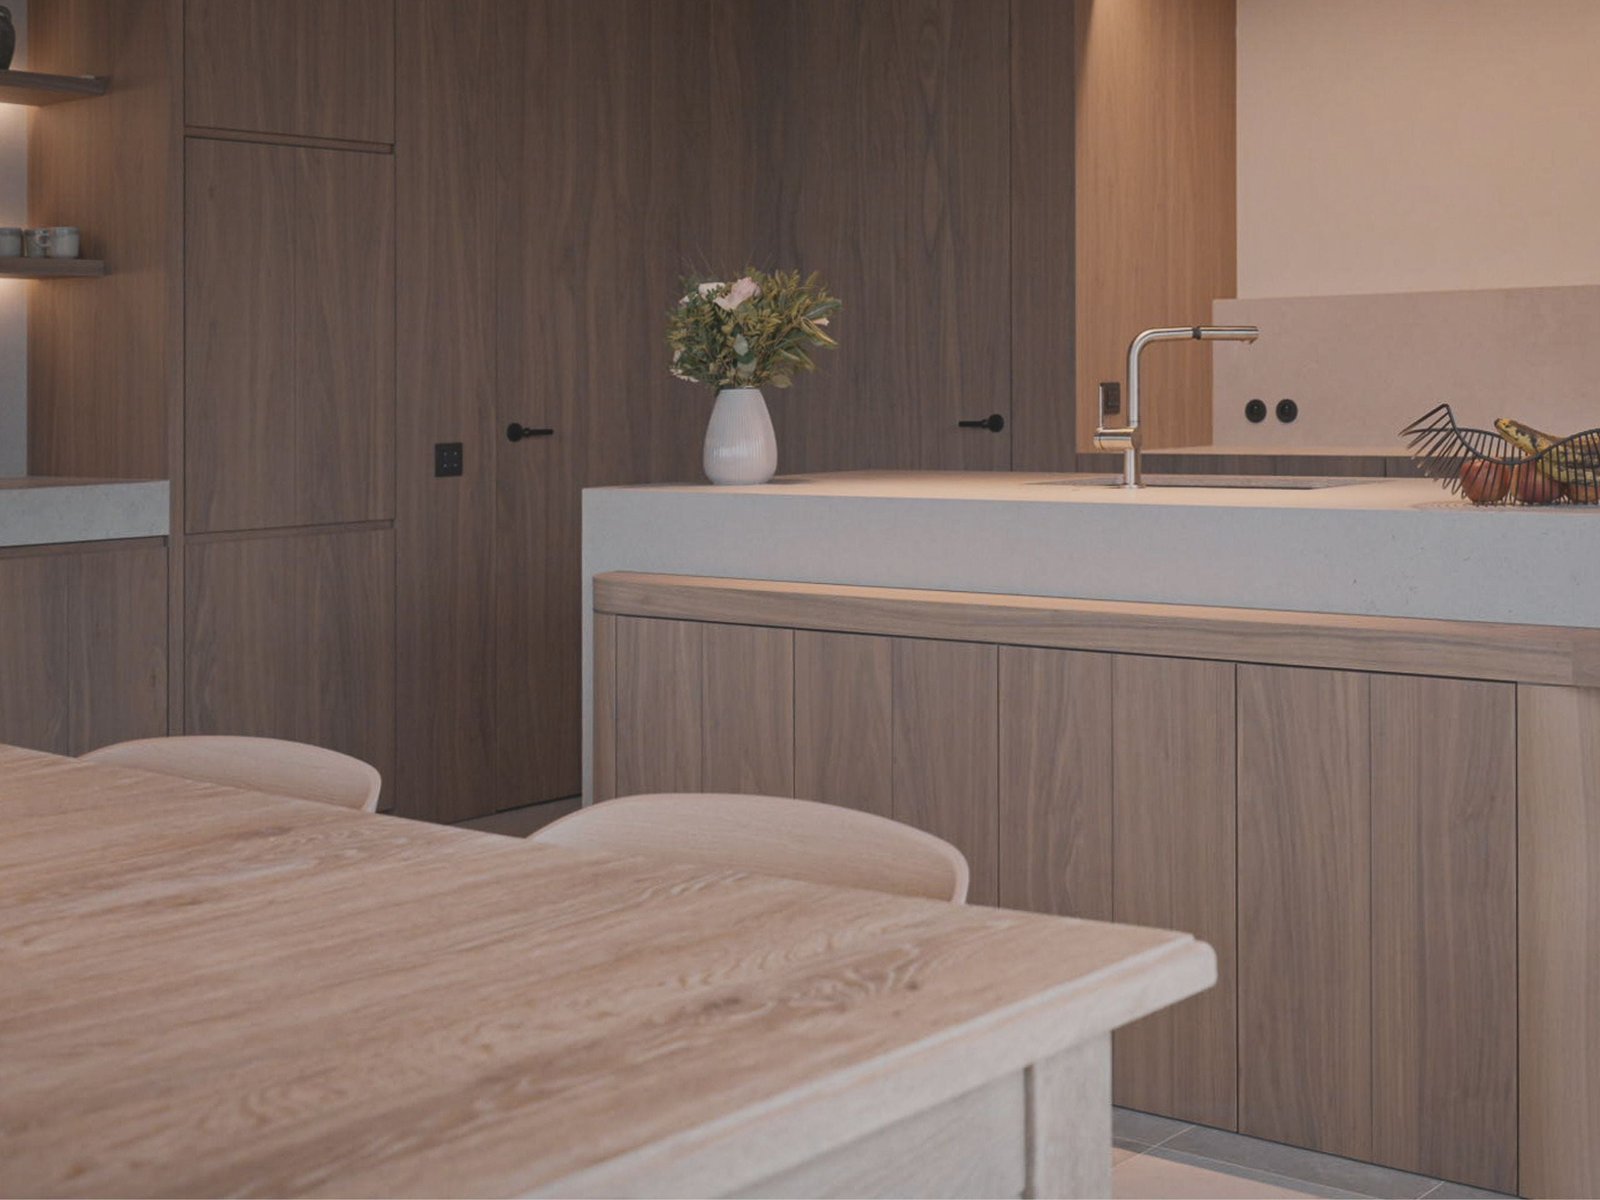
✔ Cut panels to size and dry-fit them before securing. ✔ Attach panels using adhesive & finishing nails—this prevents movement over time. ✔ Apply edge banding if necessary for a polished, professional look. ✔ Install hardware carefully to avoid damaging the veneer surface.
For Accent Walls & Built-Ins:
✔ Find the center point of your wall and work outward. ✔ Use construction adhesive & brad nails to attach panels securely. ✔ Align seams carefully to maintain a clean, continuous wood grain. ✔ Seal edges with wood filler or trim for a custom look.
💡 Pro Tip: If installing floating shelves with Shinnoki Frozen Walnut, use hidden brackets for a seamless, high-end look.
Step 5: Finishing Touches & Styling
To bring your space to life, pair Shinnoki Frozen Walnut with thoughtful décor and lighting choices:
✔ Warm LED lighting enhances the wood’s natural tones.
✔ Neutral wall colors like soft gray or warm white create balance.
✔ Matte black or brushed gold fixtures contrast beautifully.
✔ Textured fabrics like linen or boucle add coziness.
✔ Minimalist décor keeps the focus on the stunning wood grain.
💡 Pro Tip: Consider a satin or matte finish sealant if you want extra protection without adding unwanted gloss.
Read More in Shaded House Blog
- Custom Cabinet Design & Installation in Chattaroy, WA
 Learn how custom cabinetry in Chattaroy, WA transforms kitchens, bathrooms, and living spaces.
 - Home with Custom Closets in Cheney, WA: Smart Storage Solutions
 Learn how custom closets in Cheney, WA create organized, functional living spaces throughout your home.
 - Affordable Bathroom Remodel: A Step-by-Step Guide to Creating a Beautiful Bathroom on a Budget
 Learn how custom cabinetry in Chattaroy, WA transforms kitchens, bathrooms, and living spaces.
Final Thoughts: Is Shinnoki Frozen Walnut Right for Your Home?
If you’re looking for a sophisticated yet warm material for your next interior design project, Shinnoki Frozen Walnut is a fantastic choice. Here’s why:
✔ Pre-finished and easy to install—perfect for DIY or professional use.
✔ Highly durable with a premium look.
✔ Versatile for cabinetry, accent walls, furniture, and more.
✔ Pairs well with modern, minimalist, and classic design styles.
By following this step-by-step guide, you’ll create a beautiful, high-end interior space with the rich texture and warmth of Shinnoki Frozen Walnut. Whether you’re upgrading your kitchen, bedroom, or office, this material is guaranteed to elevate your home’s design!