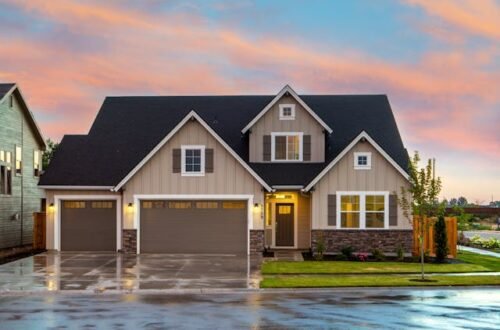
When it comes to boosting curb appeal and protecting your home, nothing makes a bigger impact than quality siding installation. The right siding not only enhances aesthetics but also improves energy efficiency and shields your home from the elements.
If you’ve been thinking about installing or replacing siding, you’re in the right place. Inspired by Bob Vila’s hands-on, practical approach, this conversational guide will walk you through the siding installation process and help you choose the best option for your home.
Why Siding Installation is a Game-Changer for Your Home
Many homeowners think siding is just about looks, but the truth is, it’s one of the most important protective features of your home. Here’s why investing in new siding is worth it: ✔ Enhances Curb Appeal – Instantly upgrades your home’s exterior. ✔ Boosts Energy Efficiency – Helps with insulation, reducing heating & cooling costs. ✔ Prevents Water Damage – Acts as a shield against rain, snow, and moisture. ✔ Increases Property Value – A well-maintained exterior adds resale value. ✔ Lowers Maintenance Needs – Modern materials are designed to be durable and low-maintenance.
💡 Pro Tip: Choose siding that complements your home’s architectural style to create a polished, cohesive look.
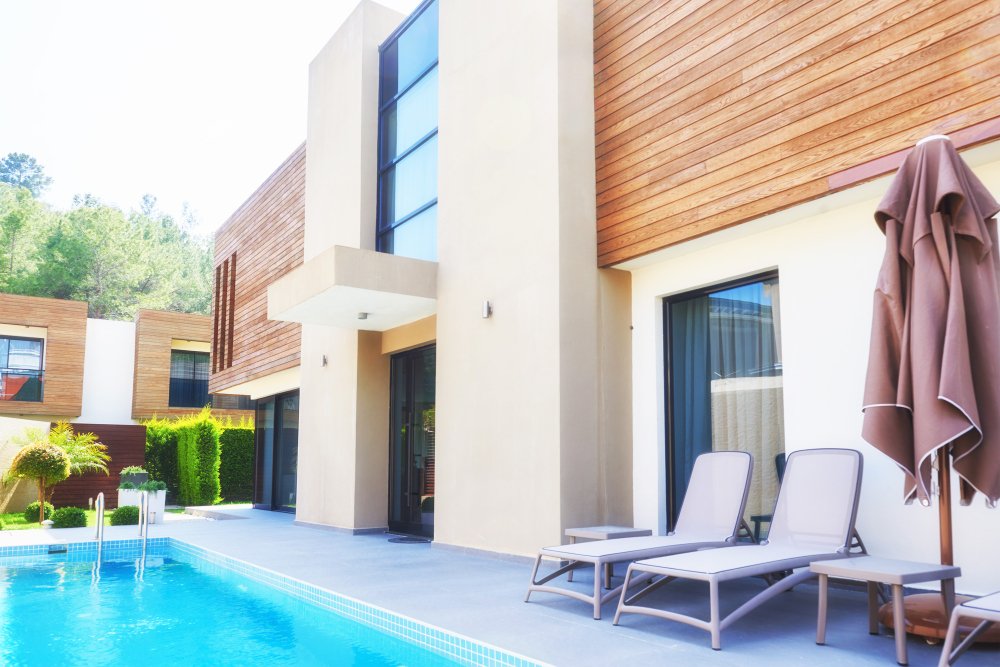
Step 1: Choosing the Right Siding Material
With so many options on the market, picking the right siding material can feel overwhelming. Here’s a quick breakdown of the most popular choices:
| Siding Type | Best For | Pros | Cons |
|---|---|---|---|
| Vinyl Siding | Budget-conscious homeowners | Affordable, low-maintenance, comes in many colors | Can fade over time, may crack in extreme cold |
| Fiber Cement | Modern and durable design | Fire-resistant, moisture-resistant, long-lasting | Heavier material, requires professional installation |
| Wood Siding | Classic and natural look | Eco-friendly, customizable | Requires regular maintenance to prevent rot and pests |
| Metal Siding (Aluminum/Steel) | Contemporary homes | Highly durable, fire-resistant, minimal maintenance | Can dent easily, may rust over time |
| Brick or Stone Veneer | Luxury homes | Extremely durable, adds a premium look | Expensive, labor-intensive installation |
💡 Pro Tip: If you live in an area with extreme weather conditions, opt for fiber cement or metal siding for extra durability.
Step 2: Prepping for Siding Installation
Before the first siding panel goes up, proper preparation is key. Here’s how to get your home ready: ✔ Inspect the Existing Siding – If replacing old siding, check for damage, mold, or rot. ✔ Repair & Reinforce – Fix any underlying structural issues before installation. ✔ Install a Weather Barrier – A moisture-resistant house wrap helps prevent water damage. ✔ Gather Tools & Materials – Make sure you have the right supplies (siding panels, nails, fasteners, trim pieces, and sealant).
💡 Pro Tip: If you’re going DIY, make sure you leave a small gap between panels to allow for natural expansion and contraction.
Step 3: Installing Siding Like a Pro
Now that you’re prepped, it’s time to install the siding. Here’s a step-by-step process to make it easy:
1. Start at the Bottom
✔ Install the starter strip along the bottom edge of the house. ✔ Make sure it’s level—this will guide the rest of the installation.
2. Work Your Way Up
✔ Snap the first panel into place, securing it with nails or fasteners. ✔ Continue layering panels upwards, making sure edges overlap correctly. ✔ Use J-channel trim around windows and doors for a clean finish.
3. Allow for Expansion Gaps
✔ Leave a small ¼-inch gap at the ends of each panel to prevent warping in extreme temperatures. ✔ Secure panels loosely—don’t hammer nails too tight, or the siding won’t flex properly.
4. Add Finishing Touches
✔ Install corner posts, soffits, and trim pieces to complete the look. ✔ Use color-matched caulk to seal seams and prevent moisture leaks. ✔ Give your new siding a final cleaning and inspection.
💡 Pro Tip: For best results, install siding on a dry, mild-weather day to prevent warping or moisture-related issues.
Read More in Shaded House Blog
- Eco-Friendly Siding: A Martha Stewart-Inspired Guide to Sustainable Outdoor Spaces
 Transform your home’s exterior with eco-friendly siding. From fiber cement to reclaimed wood, discover sustainable materials, maintenance tips, and design inspiration for a stylish and energy-efficient home.
 - 10 Garage Cabinet Ideas to Organize Your Space
 Looking for garage cabinet ideas to transform your space? From bold colors to custom builds, these 10 tips—inspired by Ty Pennington—will help you create a functional and stylish garage you’ll love.
 - Siding Installation Made Easy: A Homeowner’s Guide to Durable Outdoor Spaces
 Installing new siding? Learn how to choose the best siding, install it like a pro, and boost your home’s curb appeal with this Bob Vila-style guide.
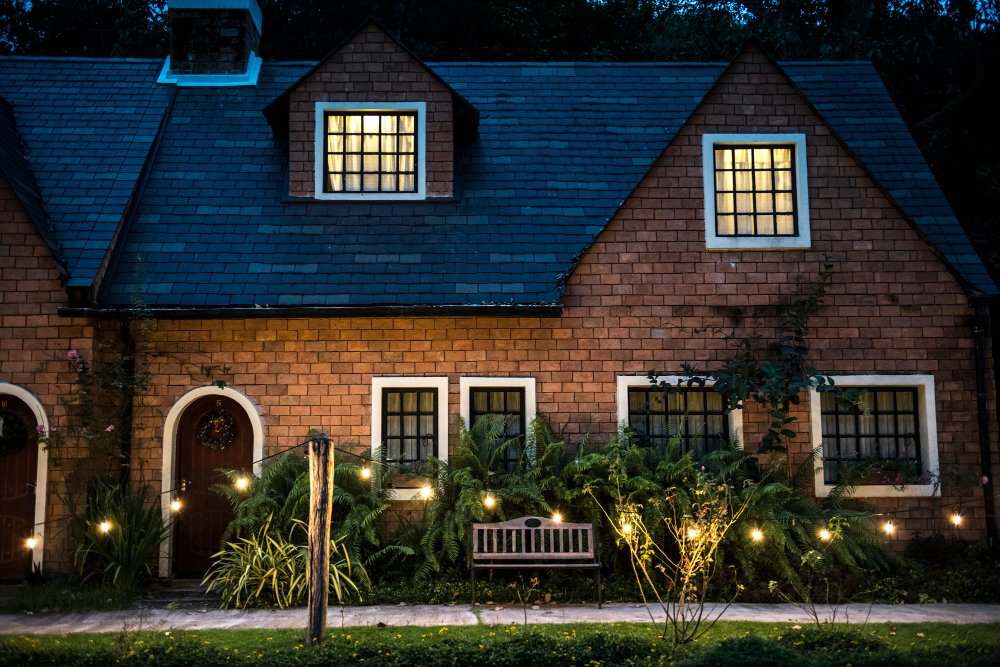
Step 4: Maintaining Your New Siding
Once your siding is installed, regular maintenance will keep it looking great for years. Here’s how: ✔ Wash siding annually – Use a hose and mild detergent to remove dirt and mildew. ✔ Inspect for cracks or loose panels – Fix small issues before they become big problems. ✔ Trim nearby trees and bushes – Prevent branches from scratching or damaging the siding. ✔ Check caulking and seals – Ensure moisture isn’t sneaking behind the panels.
💡 Pro Tip: Vinyl and fiber cement siding require minimal upkeep, while wood siding may need repainting or resealing every few years.
Final Thoughts: Is Siding Installation Worth It?
If you want a more energy-efficient, durable, and visually appealing home, siding installation is one of the best investments you can make. Here’s a recap: ✔ Choose the right siding material based on durability, cost, and aesthetics. ✔ Prepare your home properly before installation to ensure a seamless fit. ✔ Follow best practices for installation to prevent warping, moisture issues, and future repairs. ✔ Maintain your siding to extend its lifespan and keep your home looking great.