Few updates transform a space as completely—or as cost-effectively—as installing vinyl plank flooring. With the right preparation, this material offers high-end visual appeal, remarkable durability, and the versatility to complement virtually any design aesthetic.
In this authoritative, design-forward guide inspired by Vern Yip, we’ll walk you through every step—from selecting the perfect style to executing a flawless installation. Because a beautiful floor starts with thoughtful choices and ends with precision.
Step 1: Choose the Right Vinyl Plank Style
Before you break out the tools, start with design clarity. Vinyl plank flooring comes in a range of styles, including:
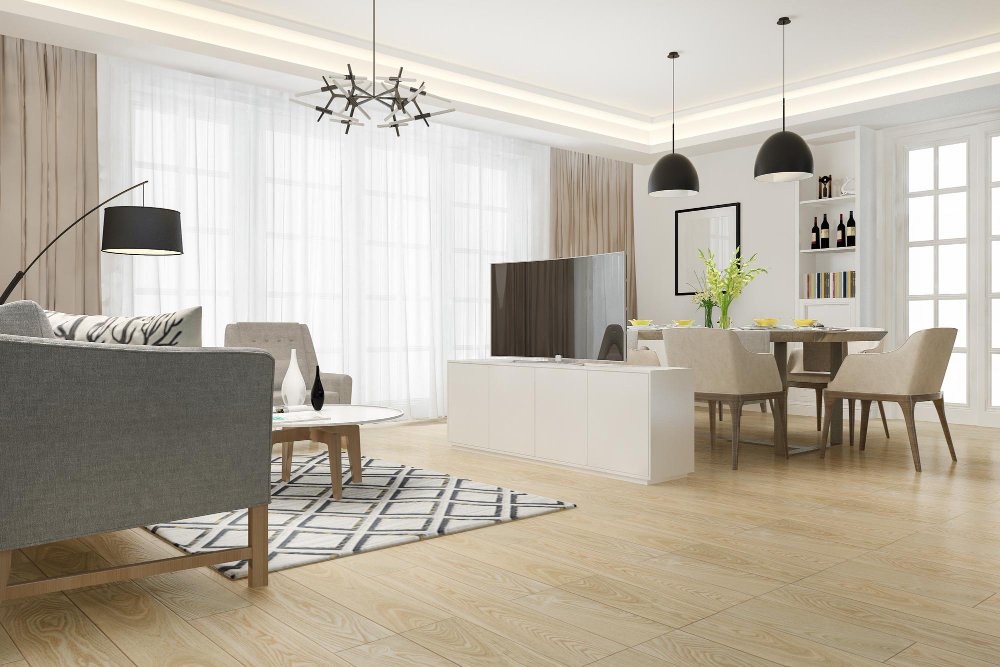
- Wood-look finishes in oak, hickory, walnut, and beyond
- Stone and tile patterns for a more modern or transitional space
- Matte, textured, or high-gloss finishes
Tip: Consider the scale and tone of your space. Wide planks suit open rooms, while lighter tones enhance natural light. Always order samples and view them in different lighting.

Step 2: Acclimate the Flooring
Vinyl plank must acclimate to the room’s temperature and humidity. Lay the boxes flat in the space for at least 48 hours before installation.
This simple step prevents expansion or contraction later—ensuring long-term stability and finish integrity.
Step 3: Prepare the Subfloor
Your subfloor should be:
- Clean (vacuum thoroughly)
- Dry (no moisture or leaks)
- Level (use a leveling compound if necessary)
Avoid installing over carpet or uneven concrete. The better your prep, the more seamless and quiet your flooring will feel underfoot.
Step 4: Plan Your Layout
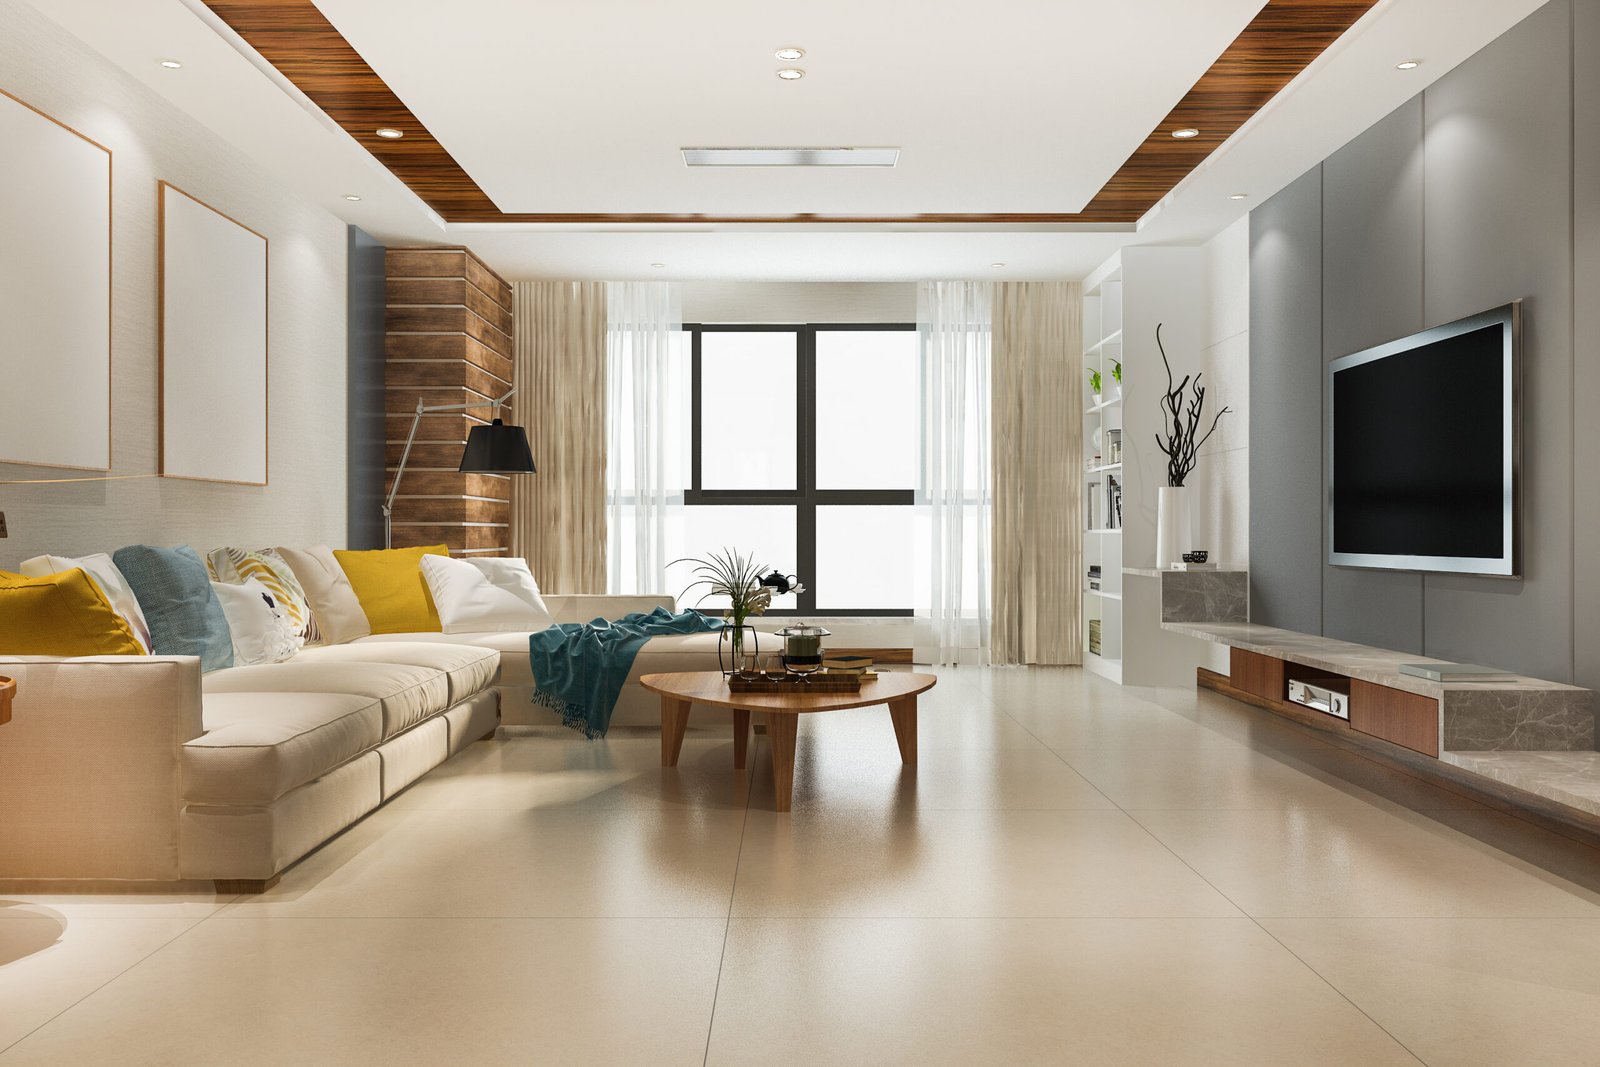
Lay out the planks before installation to avoid narrow cuts at the edges. Use spacers to maintain a consistent expansion gap—typically 1/4 inch—from the wall.
Pro Tip from Vern: “Your layout should support the room’s architecture—parallel to the longest wall or aligned with the main light source.”
Step 5: Install with Precision
Most vinyl plank flooring features a click-lock system. Starting from the left corner, place the first row tongue side against the wall. Work row by row, staggering seams by at least 6 inches for a natural look.
Use a tapping block and pull bar for tight fits. Measure twice before cutting planks to length.
Step 6: Finish Strong with Trim and Transitions
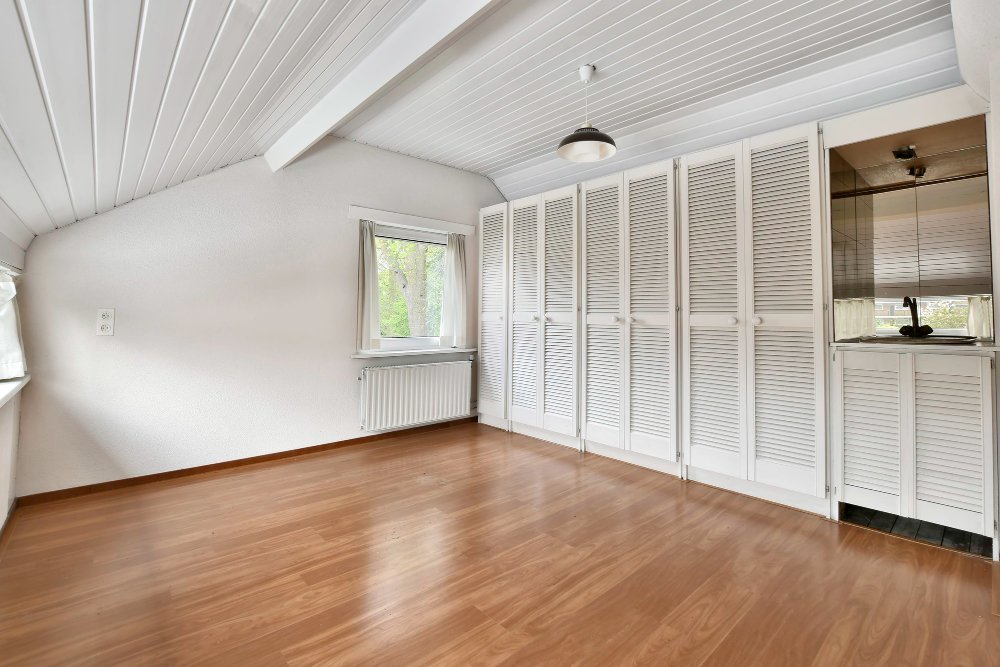
Once the floor is installed, remove the spacers and install baseboards or quarter round to cover the expansion gap. Add transition strips where vinyl meets tile, carpet, or wood.
Final step? Clean with a manufacturer-approved solution and admire your work—your space is officially transformed.
Read More in Shaded House Blog
- Custom Cabinet Design & Installation in Chattaroy, WA
 Learn how custom cabinetry in Chattaroy, WA transforms kitchens, bathrooms, and living spaces.
 - Home with Custom Closets in Cheney, WA: Smart Storage Solutions
 Learn how custom closets in Cheney, WA create organized, functional living spaces throughout your home.
 - Affordable Bathroom Remodel: A Step-by-Step Guide to Creating a Beautiful Bathroom on a Budget
 Learn how custom cabinetry in Chattaroy, WA transforms kitchens, bathrooms, and living spaces.
Call to Action
Vinyl plank flooring is more than a quick fix—it’s a smart, stylish foundation for inspired living. With proper prep and attention to detail, you’ll achieve professional-level results that elevate your space in every sense.
Ready to upgrade your floors with style and precision? Let our experts help you choose the perfect vinyl plank flooring and guide you through your next design-forward transformation.